Analyzer
The Display button opens the display’s settings.
- Freeze holds the picture while you look.
- Before EQ, After EQ, or Before and After chooses which sound the spectrum shows. Before and After, the default, draws the sound before the EQ as a thin faint line behind the filled spectrum after it, so what you took out is the gap between the two.
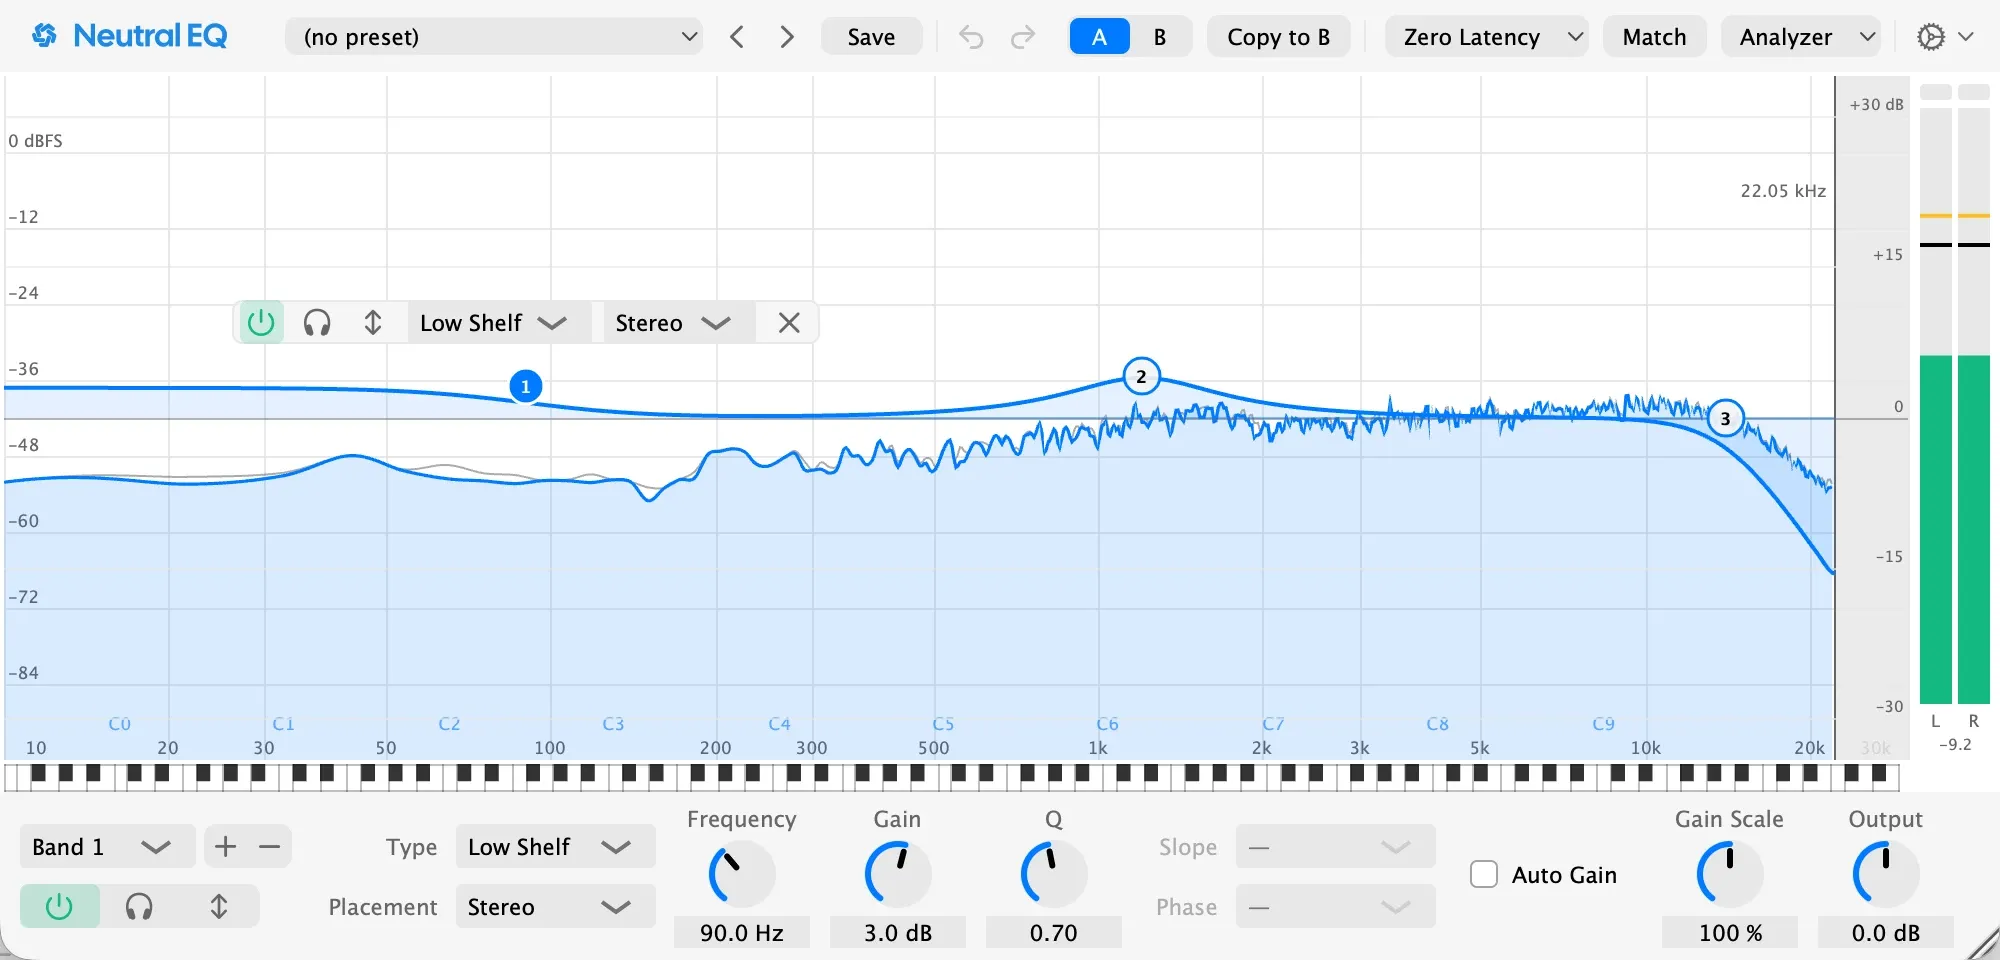
- Note Names, Piano Roll, and Range Names label the axis by note, with a keyboard (double-click a key to add a bell on that note), and by the seven ranges from Sub to Air.
- Smoothing reads the spectrum over a band of the width you choose, from 1/48 octave to 1/3 octave, so the top octaves read as one line instead of every bin’s scatter. Off, the default, draws every bin as it is.
- Keep Peaks shows each band’s loudest level, so a narrow tone or a resonance never shrinks as the band widens. Turn it off to read each band’s power, the tonal balance.
- Slope, Resolution, Speed, and Window set how the spectrum is computed. The defaults suit most work.
- Reset Display Settings returns every setting in this menu to its default.
- Show Sidechain draws the sidechain input as a second trace in yellow. It changes nothing in the sound.
Hover the display to read the frequency, note, and level under the pointer. The meters on the right read peak, RMS, and true peak, the same as Neutral Tracks’ mixer. The analyzer and meters run only while the window is open.
The axis always runs from 10 Hz to 30 kHz, so a band sits in the same place in every session. At 44.1 and 48 kHz the region above the session’s top frequency is shaded, because nothing renders there.
See other tracks
- Other Curves draws every other Neutral EQ in the session as a faint dashed curve in its track’s color, so the vocal’s dip stays in view while you shape the guitar.
- Other Instances lists them by track name. Pick one or more to see their spectrum over yours. Where two spectra fight, the space between them fills red: full red where they’re level, fading out twelve decibels apart. Cut until the red clears.
Your picks are remembered by track name. This works in Logic, Cubase, Ableton Live, and REAPER. Audio Unit and VST3 instances are listed separately. In Neutral Tracks, other instances appear once the DAW’s plugin connection ships.
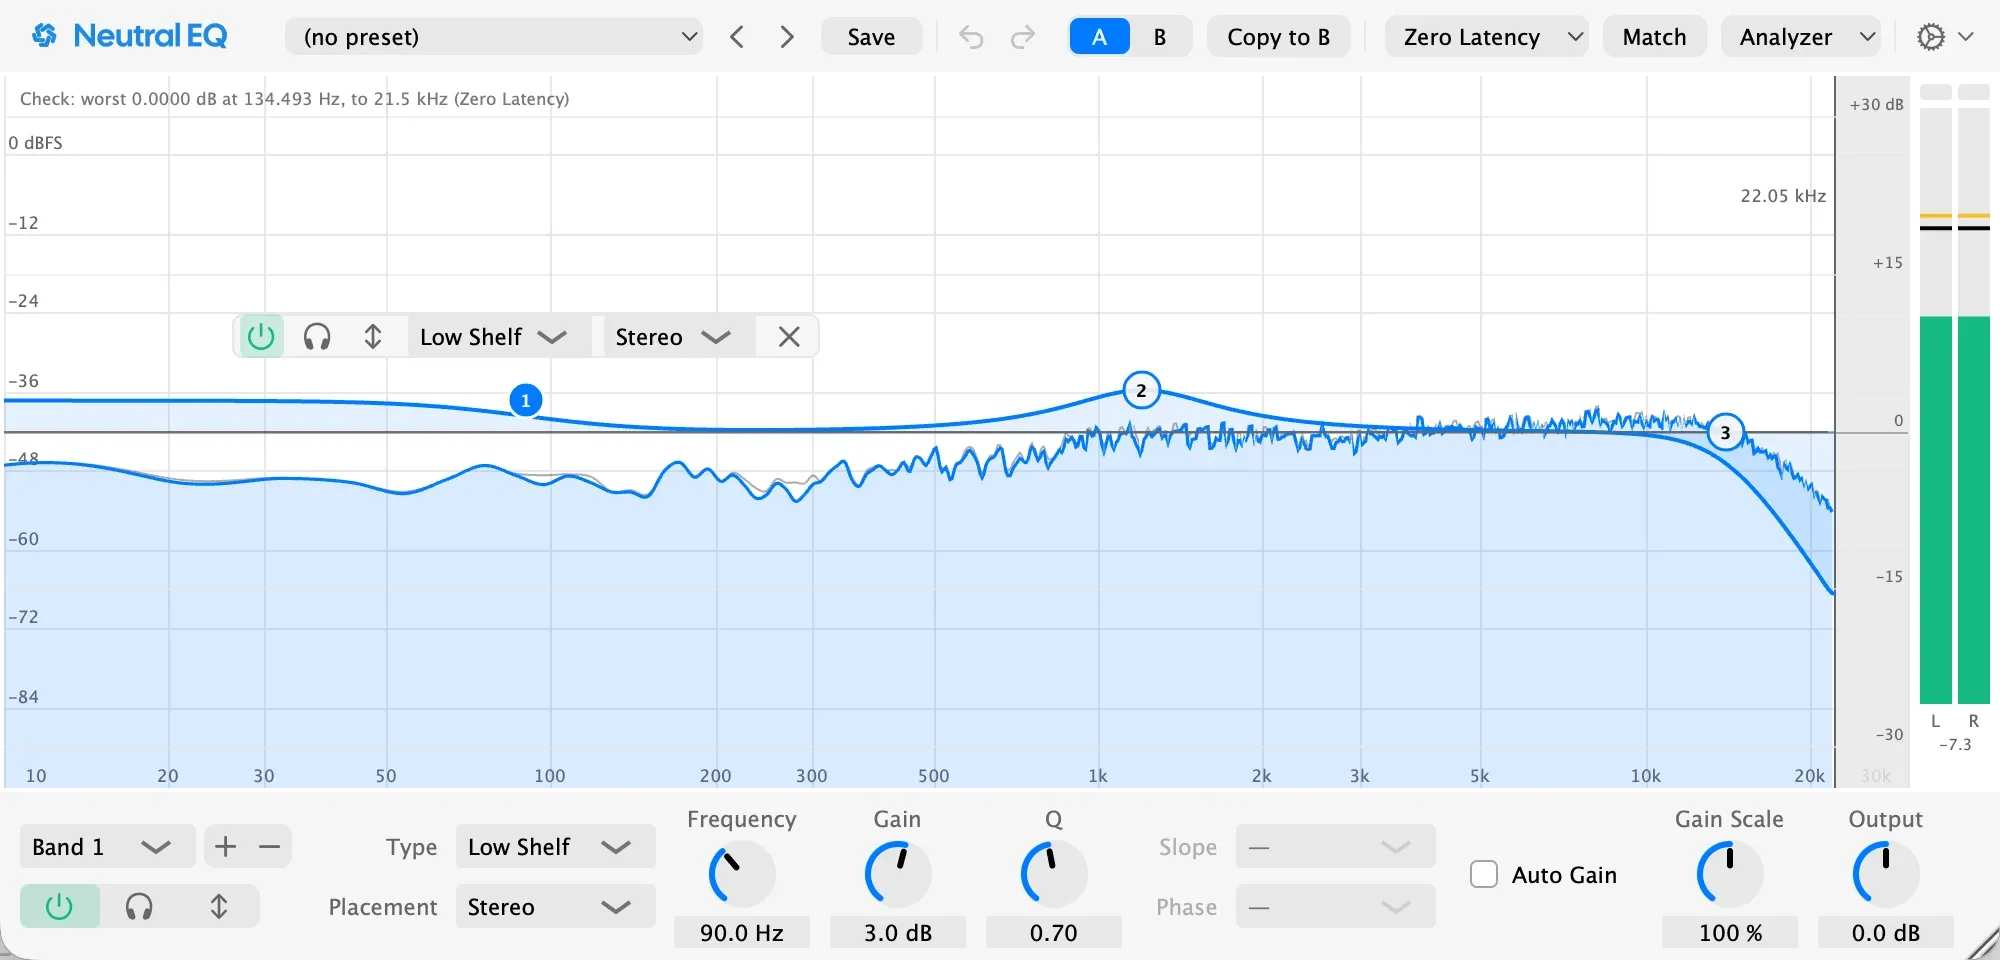
Check Curve
Check Curve, in the Settings menu, runs your current settings through a copy of the plugin’s audio path and compares the result with the curve on screen. The worst difference and its frequency show over the plot until your next edit. Dynamic bands are checked at rest.